
Here's what you need:
-Fruit of your choice
-Blender or food processor
-Saran Wrap OR a silpat baking sheet
-Cookie Sheet
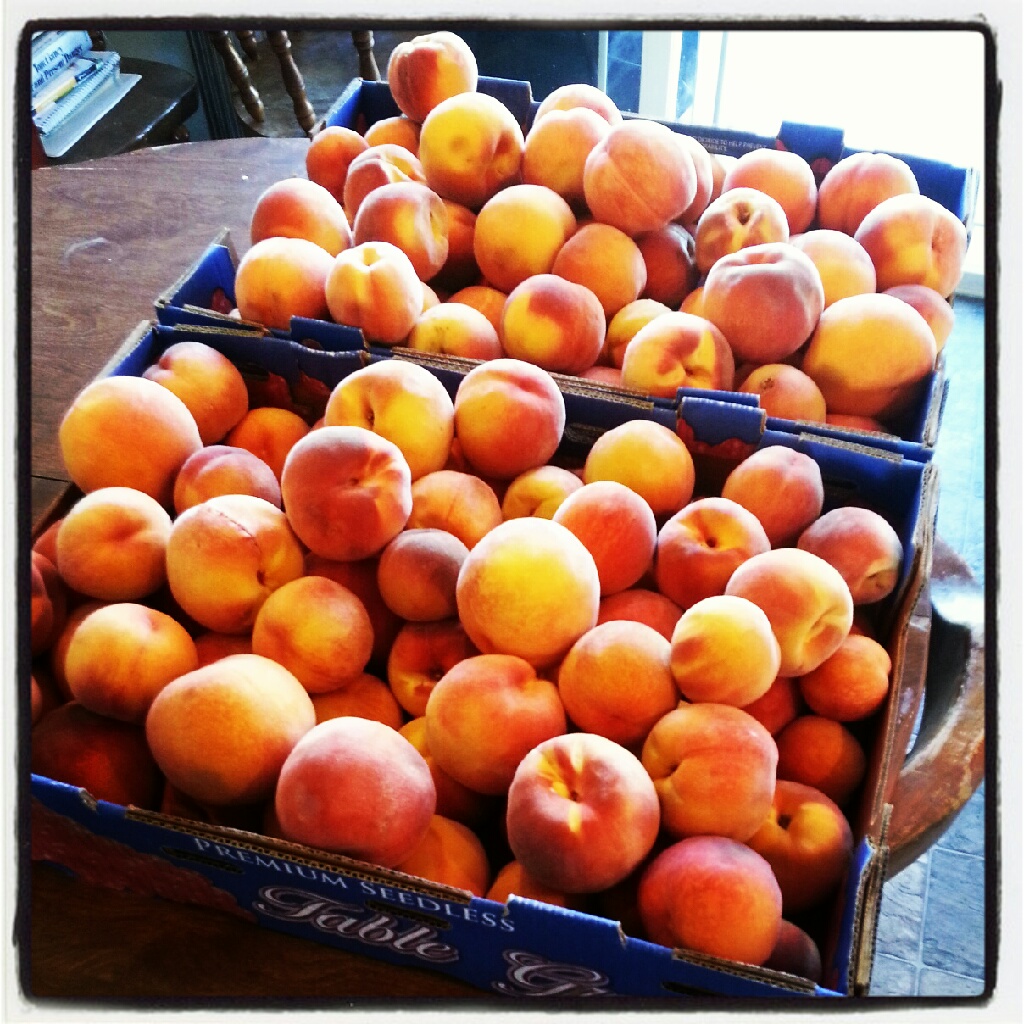
-If using peaches, a little lemon juice
-To be at home for 6+ hours
First, pre-heat your oven to the lowest possible setting (I tried both 175 degrees and 200 degrees and had success with both). Then, slice your fruit into chunks that will be manageable by your blender/food processor. I was pureeing big batches of peaches at a time and then sticking the puree in the fridge to use as needed for the fruit leather, so I'm not sure how much you'd need for a single batch, but I'd probably guess about 3 cups of sliced/prepared fruit.

Then, blend away! If you're using peaches, I'd suggest adding a couple squirts of lemon juice to help brighten the flavor and keep the peaches from turning brown too quickly. Many recipes will also recommend adding honey, agave, or sugar at this stage, but I probably wouldn't unless your fruit was really really under-ripe and had no natural flavor.

-Then, take a cookie sheet and lay a single sheet of Saran-Wrap over the sheet, allowing a few extra inches of plastic wrap on each end for shrinkage. Smooth out as many wrinkles as possible, but do not pull the plastic wrap tight around the edges of the pan. Yes, you're going to put the Saran-Wrap in the oven. I know...it seems weird. But most Saran-Wrap is microwave safe, and at 175 degrees, your oven is probably a lot less warm than your microwave would be. That said, if you just can't get past the idea of putting Saran-Wrap in the oven, then use a Silpat baking sheet instead. I do not suggest using parchment paper or wax paper. The fruit leather will stick to both, I promise you.
Anyway, pour a smallish amount of your fruit puree onto the cookie sheet. The aim is to just cover the surface area of the cookie sheet--I'd say you want your puree to be 1/8" thick or less, and as uniform in thickness as possible. If you have one of those off-set frosting spreaders for cakes, this would be a perfect thing to use it for. I don't have one, so I just tilted the pan this way and that until the puree had covered most of the entire pan.

(Mine looked like this when it was all spread out)

Then, pop them into the oven. I did two batches at a time with no problem. Now, if you're baking at 175 or lower, I'd plan to check on the fruit leather after 4 hours. If you're baking at 200, check it after 3. Close the oven door, and walk away!

When you come back to check the fruit leather, you'll want to gently press a clean finger into the center of the pan. The fruit leather is done when you can remove your finger without getting any fruit residue. When baking at 175, this took about 6 hours. When baking at 200, this sometimes took more like 4. After that first initial check, you'll probably want to check pretty frequently, because the fruit leather tends to go from not-done to over-done really fast.
Now, here's the part that gets frustrating for a lot of people--the edges usually get done much more quickly than the middle. So, by the time the center is done and no longer tacky, the edges are usually pretty crispy. BUT, you can usually save it! Once you remove the pan from the oven, just pray the edges with a little water in a squirt bottle (or blot with a damp paper towel) and let sit for a half an hour or so. This usually re-hydrates the fruit leather enough to make it roll-able. Is the whole pan crispy? Don't toss it out-- you can still eat it! The crunchiness is nice over ice cream, or as a garnish. Or just to eat...because it is GOOD. Even when it's crunchy. Basically, don't stress over it.
And lastly, you're ready to roll. I usually rolled up the whole pan of fruit leather at once, and then used clean scissors to slice the large roll into individual servings. I tossed the individual servings into a mason jar for storage. I have no doubt these things will get eaten really quickly in our house, so I didn't bother to make them cute, but you could also transfer them to individual pieces of parchment paper, roll them up, and tie with baker's twine. If you're fancy. But I'm not fancy, so there.

Linking up with AP for Project Pinterest!


I am SO happy you shared this- I cannot wait to try this out. I'm practically drooling at the sight of those fresh peaches, too! Oh my word. YUM!!! Thanks so much for linking up!
ReplyDeleteLooks like the perfect snack!!
ReplyDeleteWhat do these taste like? Fruit roll ups? Yum!
ReplyDeleteAWESOME! I need to make these for John! Do you think apples would work? We have a gajillion of them here now but are out of peach season.
ReplyDeleteThat looks delicious! I can't imagine waiting around for it to set in a low temp oven,b ut still, looks delicious!
ReplyDeleteOh...those peaches look divine! So wish we had peach picking here in the midwest!
ReplyDeleteI've made fruit leathers before with strawberries and couldn't believe how easy and delicious they were. Such a good snack for everyone! But I bet yours were better!
I love how fresh this is. I am totally going to do this!! Great pin!!
ReplyDeleteWe make this all the time! Love them! Strawberry is our favorite and i think i'm gonna make some tomorrow ;) We use parchment paper and never have an issue but i think strawberry is thicker or something. YUM! i've mixed flavors too and I've burned them too after being impatient and turning up the heat. boo
ReplyDeleteOoo, this is really easy, and a great snack! Thanks for sharing.
ReplyDelete